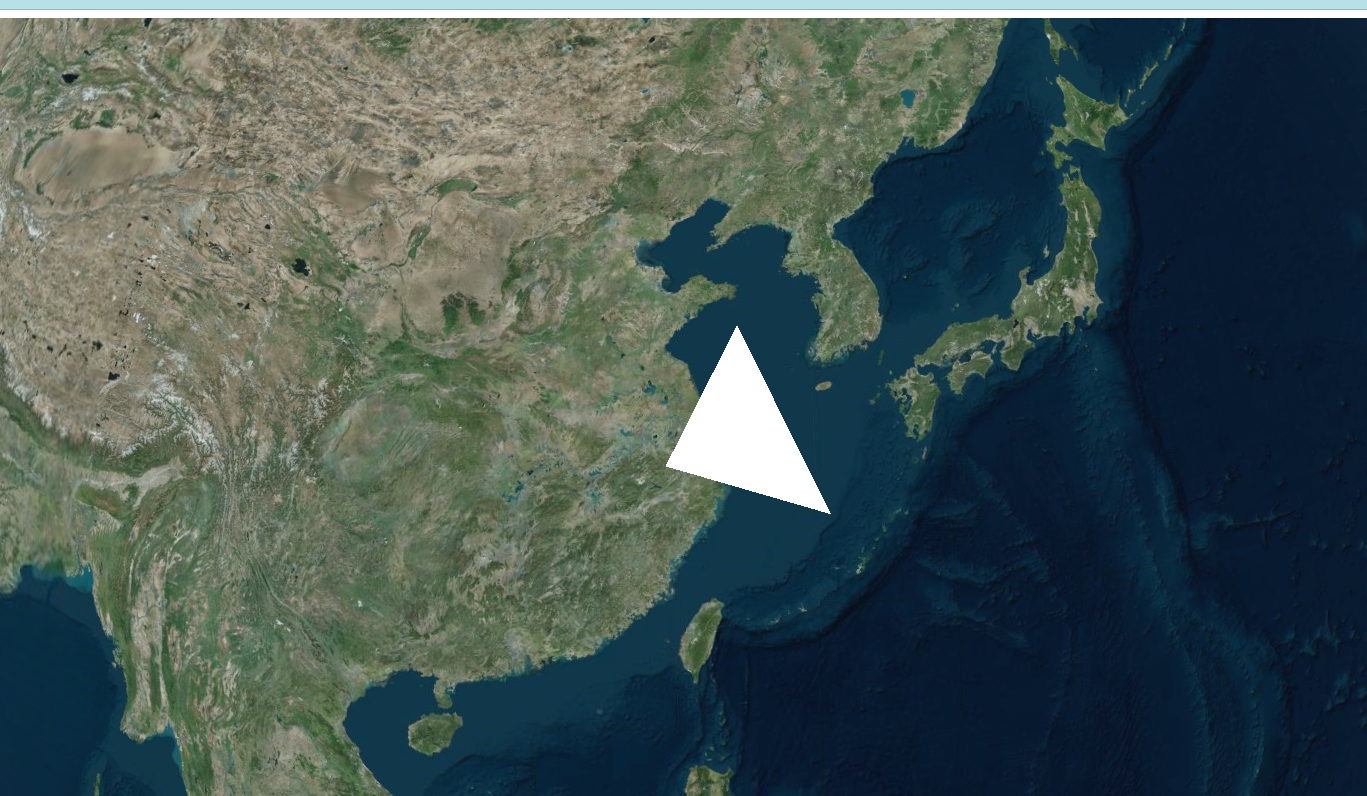
1
2
3
4
5
6
7
8
9
10
11
12
13
14
15
16
17
18
19
20
21
22
23
24
25
26
27
28
29
30
31
32
33
34
35
36
37
38
39
40
41
42
43
44
45
46
47
48
49
50
51
52
53
54
55
56
57
58
59
60
61
62
63
64
65
66
67
68
69
70
71
72
73
74
75
76
77
78
79
80
81
82
83
84
85
86
87
88
89
90
91
92
93
94
95
96
97
98
99
100
101
102
103
104
105
106
107
108
109
110
111
112
113
114
115
116
117
| <!DOCTYPE html>
<html lang="en">
<head>
<meta charset="UTF-8" />
<meta http-equiv="X-UA-Compatible" content="IE=edge" />
<meta name="viewport" content="width=device-width, initial-scale=1.0" />
<title>Cesium自定义Primitive实现三角形绘制</title>
<link rel="stylesheet" href="./Cesium-1.107.1/Cesium//Widgets/widgets.css" />
<script src="./Cesium-1.107.1//Cesium/Cesium.js"></script>
<style>
html,
body {
width: 100%;
height: 100%;
}
#cesiumContainer {
width: 100%;
height: 100%;
}
</style>
</head>
<body>
<div id="cesiumContainer"></div>
<script>
Cesium.Ion.defaultAccessToken =
"eyJhbGciOiJIUzI1NiIsInR5cCI6IkpXVCJ9.eyJqdGkiOiJlMTk4ZTYyNy00MjkxLTRmZWYtOTg1MS0wOThjM2YzMzIzYzEiLCJpZCI6NzEyMSwic2NvcGVzIjpbImFzciIsImdjIl0sImlhdCI6MTU0ODMxNzI5OX0.rKV8Ldl_bgR3lVvNsbHhTX62j8JH8ADCIWAwk7tXpr8";
class CustomPrimitive extends Cesium.Primitive {
constructor(options) {
super(options);
const modelCenter = Cesium.Cartesian3.fromDegrees(121.474509, 31.233368, 0);
const modelMatrix = Cesium.Transforms.eastNorthUpToFixedFrame(modelCenter);
this._modelMatrix = modelMatrix;
}
createCommand = (frameState, modelMatrix) => {
const context = frameState.context;
const positionBuffer = Cesium.Buffer.createVertexBuffer({
  context: context,
  typedArray: new Float32Array([
    100000, 500000, 50000, -200000, -100000, 50000, 500000, -300000, 50000,
  ]),
  usage: Cesium.BufferUsage.STATIC_DRAW,
});
const attributes = [
  {
    index: 0,
    enabled: true,
    vertexBuffer: positionBuffer,
    componentsPerAttribute: 3,
    componentDatatype: Cesium.ComponentDatatype.FLOAT,
    normalize: false,
    offsetInBytes: 0,
    strideInBytes: 0,
    instanceDivisor: 0,
  },
];

const vertexArray = new Cesium.VertexArray({
  context: context,
  attributes: attributes,
});
const vertexShaderSource = `
  in vec3 position;
  void main() {
    gl_Position = czm_projection * czm_view * czm_model * vec4(position, 1.0);
  }
`;

const fragmentShaderSource = `
  #version 300 es
  precision highp float;
  out vec4 fragColor;

  void main() {
    fragColor = vec4(1.0, 1.0, 0.0, 1.0);
  }
`;
const attributeLocations = {
position: 0,
};
const shaderProgram = Cesium.ShaderProgram.fromCache({
context: context,
vertexShaderSource: vertexShaderSource,
fragmentShaderSource: fragmentShaderSource,
attributeLocations: attributeLocations,
});
const renderState = Cesium.RenderState.fromCache({
depthTest: {
enabled: true,
},
});
return new Cesium.DrawCommand({
  modelMatrix: modelMatrix,
  vertexArray: vertexArray,
  shaderProgram: shaderProgram,
  renderState: renderState,
  pass: Cesium.Pass.OPAQUE,
});
};
update = frameState => {
  const command = this.createCommand(frameState, this._modelMatrix);
  frameState.commandList.push(command);
};
}
const viewer = new Cesium.Viewer("cesiumContainer");
const customPrimitive = new CustomPrimitive();
viewer.scene.primitives.add(customPrimitive);
</script>
</body>
</html>
|